
When brewing your own beer you can either buy unused bottles or you can reuse beer bottles from brands you’re already drinking. Find out the best way to clean and prepare them for your own use.
The best way to clean bottles for homebrew is to rinse the bottles thoroughly, soak them in warm, soapy water, clean the inside with a bottle brush, rinse them, and then sanitize the bottles with a brewer’s no-rinse sanitizer such as
Read on to find out the best way to clean bottles with or without special equipment.
Topics We Cover
How to clean dirty beer bottles for homebrew without equipment
Almost all commercial beer bottles come with labels glued to the body and around the neck. Since we need to clean any residual beer from the bottle, we may as well take the time to remove the labels.
We mentioned that you don’t need specialized equipment but you will need the following items to clean your bottles for homebrew, which you should have available on hand.
- Large pot – largest you have
- Dish sponge with green or blue scrubbing surface
- Hot water
- Dish soap
- Razor or utility knife blade – optional
- Rubber gloves – optional
- Large tub or container – if required
Step 1: Clear and prepare your work area with broken glass in mind
If I’m cleaning a small batch of bottles (around 6), I can do this work in my kitchen sink. That is my preferred location because I can fit a pot in it and if I happen to drop and break a bottle, the glass is contained inside the sink.
I also plug up the drain because I don’t want glass going down into the garbage disposal unit. I also have a plate rack nearby for air-drying the bottles.
When picking out a suitable work area, keep in mind that you will be handling wet and possibly soapy bottles. At some point, one of these bottles might fall and break so you’ll want to contain the broken glass as much as possible.
Step 2: Place bottles in pot and cover with hot soapy water
Place as many empty bottles that you can in your pot and fill it with the hottest water that comes out of your sink. There is no need to boil the water unless you want to speed up the process.
After the bottles have been covered with hot water, I turn off the faucet and then put a squirt or two of detergent in the water. I don’t use the faucet to agitate the water and make bubbles as it makes too much foam.
I also lift and dunk the bottles to get soap inside the bottle and make sure there are no air bubbles inside as it sits in the water. A pair of kitchen gloves are helpful if the water is too hot.
Step 3: Let bottles soak and allow the label adhesive to heat up before removing them
The secret to getting labels to slide off is heat. The glue used to adhere the label to the glass will start to release once it gets to the correct temperature.
The tricky part is that the water will start cooling down the longer it sits.
If you let the water cool too much, the adhesive may harden up again. The label may come off but more residue will be left behind.
Some beer labels are ready to come off in as little as 10 minutes of soaking. Other brands have required several changes of hot water.
Alternatively, you can set the pot on a stove on low heat to maintain temperature. This method will require you to keep an eye on it because of the fire hazard.
When removing the labels, peel them back slowly to minimize paper tear. You can also use a utility knife blade to scrape off any stubborn bits of label. Any residue can also be removed with the scrubbing side of a dish sponge.
Step 4: Clean the bottles inside and out and rinse
With warm soapy water, repeatedly fill the water bottle and empty the water back into the pot. You can also fill it halfway and carefully shake the bottle to agitate the soapy water inside.
Rubber gloves can give you a bit more traction in handling the bottles but you should still be careful if you are going to shake it.
Specialized equipment option 1: a bottle cleaning brush can also be used to make sure the inside of the bottle is cleaned adequately. You want to make sure to get one long enough to reach the bottom of a beer bottle.
Specialized equipment option 2: Powdered Brewery Wash (PBW) or other alkali-based cleaners. This is a commercial product popular with homebrewers because it can be used with both cold or hot water.
The alkali compounds do the heavy work. All you have to do is soak the bottles and let them sit for a few hours.
Rinse thoroughly with cold water and make sure there is no soapy residue left inside the bottles.
Step 5: Sterilize the beer bottles and dry them properly
After you have cleaned and rinsed out the bottles, put them back in the pot and cover them again with fresh water. Place the pot on a stovetop and bring the water to a boil.
Let the water boil for about 8 to 10 minutes. The bottles will shift around in the pot and may bob up to the surface. Have a fork or long-handled utensil handy to push them down.
After sterilization, turn off the stove and allow the water to cool to a safe temperature. You can then take the pot to the sink and pour out most of the water.
Before drying the bottles, think carefully about your drying surface. You just sterilized the bottles and it’s important you don’t contaminate them during the drying process.
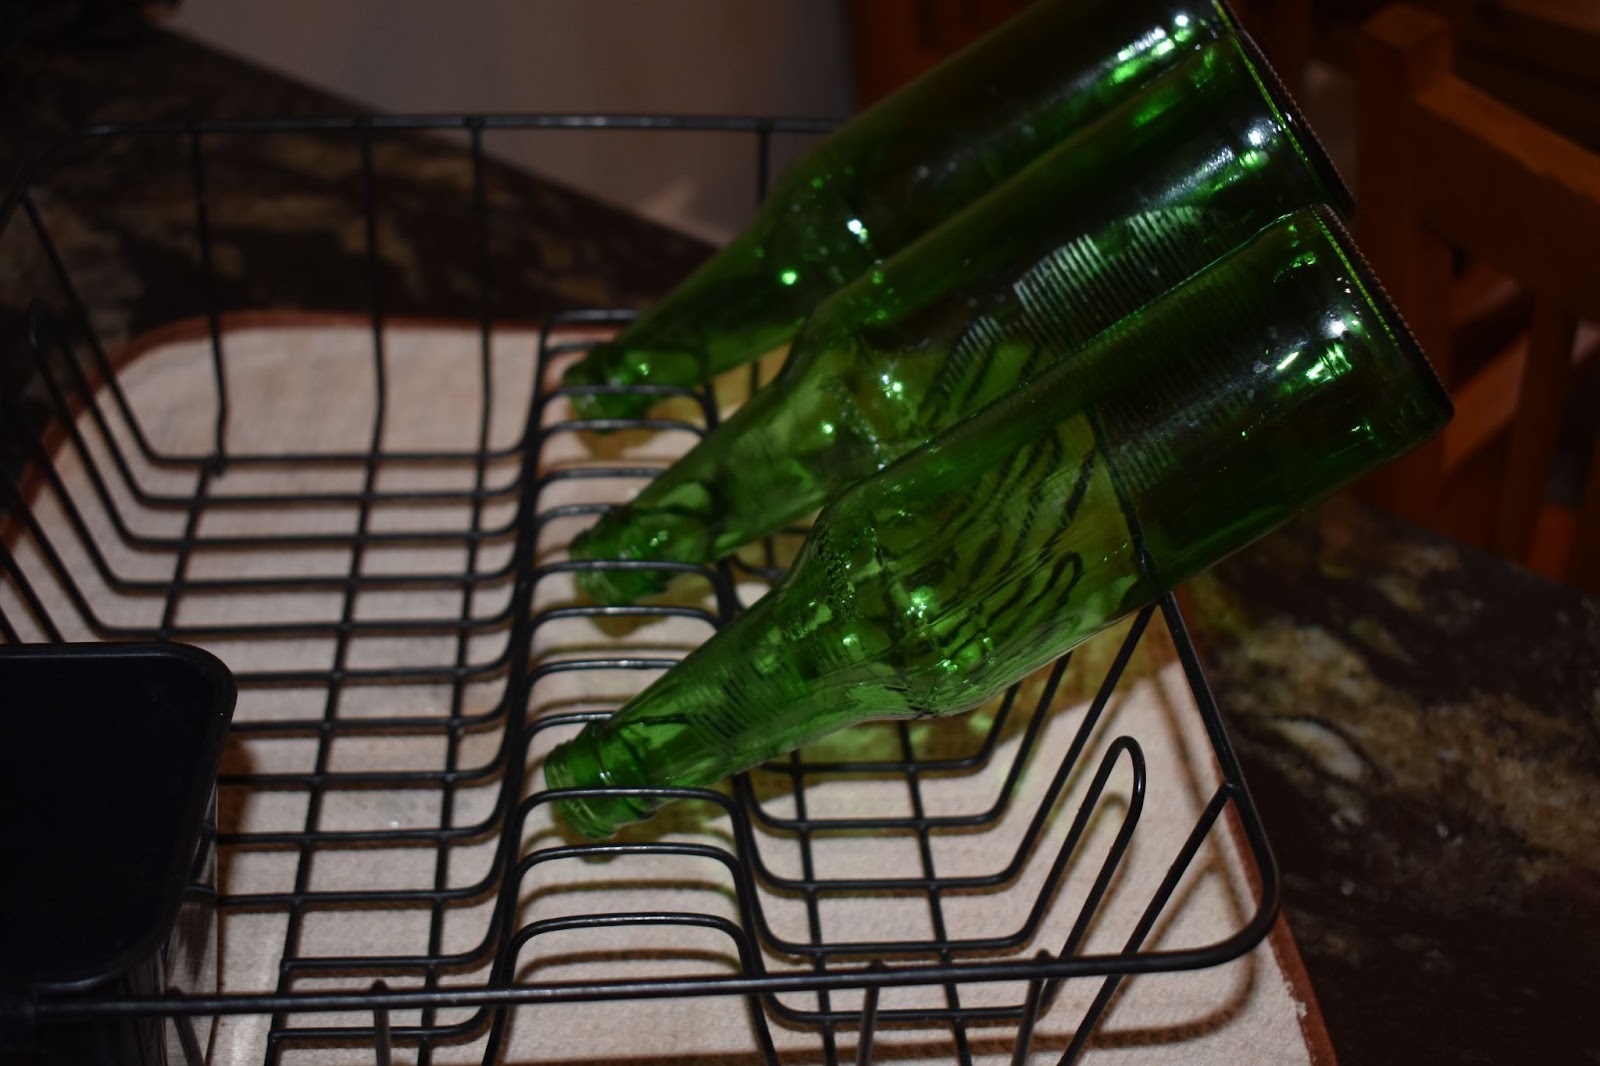
I have a wire plate drying rack and I can gently pry the wires apart and wedge the bottles in there (see photo). This allows me to dry the bottles without having them touch an unclean surface.
Specialized equipment option 1: Star San or other sanitizing liquid. These concentrated compounds can be mixed with water at a specified ratio and quickly sanitizes bottles.
These liquids are acidic and you need to take care that they don’t contact soft metals (e.g. aluminum) as it can damage them.
Cleaning and sanitizing beer bottles in the dishwasher
Some homebrewers have suggested using a dishwasher as a cleaning and sterilizing solution for beer bottles. It might work for you but there are a few things to consider:
- Will the jets be able to clean inside the bottle?
- You may need several trial and error runs before figuring out the optimum bottle placement where the jets can clean the inside.
- Jets might not provide enough pressure to adequately clean bottles regardless of position or location
- Does your dishwasher have a true sterilization setting?
- Older dishwashers might not have a sterilization setting.
- Sani-rinse is not sterilization because it is considered a “heated rinse” where the water temperature is raised to 145 degrees Fahrenheit. Sterilization occurs at 180 degrees.
If you visit the forms you will find plenty of comments from brewers who have done nothing more than just run their bottles through a hot water rinse (no soap) after cleaning them manually.
You may find that this works for you but for consistent results, we recommend sterilization as it makes sure there is no active yeast left in the bottle.
The best equipment for cleaning and sanitizing beer bottles for homebrew
By now you should have a basic idea of what’s required to prep empty beer bottles for your own brew. The low-cost options will probably work until you decide to scale up your production.
Here are some additional tips to save you time.
Create a dedicated space and workflow
This will vary based on your own living conditions but if you can, carve out an area where all your cleaning and sanitizing work will be done. Make sure you have access to water and a means to dispose of it.
Having this space will allow you to come up with an efficient work process and easily keep track of your supplies.
Use specialized equipment
We’ve talked about smaller items like bottle brushes or concentrated solutions but here are a couple more items you might want to think about.
- Extra-large stock pot – this will allow you to clean and sterilize more bottles at once than any kitchen pot. This set from Amazon will also get you a propane burner, if you want to do your boiling outside.
- Bottle washer – makes quick work of rinsing out bottles before sanitizing.
- Bottle drying rack – makes efficient use of space while drying out bottles. Make sure to clean with a sanitizing solution before placing sanitized bottles onto the drying rack.
The suggestions above aren’t set in stone but most homebrewers have found them useful, It is still up to you to figure out the best process based on your conditions.


